

You know that feeling when you wash your face, and for a fleeting moment, your skin looks impossibly smooth, almost translucent, like a pearl under soft light? Then, ten minutes later, it’s back to its usual self—dry patches here, a little dullness there? That’s the glass skin mirage. For years, I chased that look with expensive single-step creams that promised the world but delivered a sticky mess. It wasn’t until I stopped looking for a miracle in a jar and started embracing a deliberate, layered routine that I finally saw real, lasting results. This isn’t about perfection; it’s about a process. Korean glass skin isn’t a genetic lottery win—it’s a hydration architecture you build, step by step. In this guide, I’ll walk you through the exact 6-step routine I use and refine every season, complete with the product slots, the timing, and the budget-friendly swaps that make it work whether you have $50 or $200 to spend. We’re going deep, because the magic isn’t in any single product—it’s in the order and the patience.
8 min read
In This Article
- Step 1: The Double Cleanse — Your Foundation for Everything
- Step 2: The Hydrating Toner — Layering the Base
- Step 3: The Essence — The Heart of K-Beauty
- Step 4: The Serum or Ampoule — Targeted Treatment
- Step 5: The Moisturizer — Locking It All In
- Step 6: Sunscreen — The Non-Negotiable Finale
- Frequently Asked Questions
Key Takeaways
Step 1: The Double Cleanse — Your Foundation for Everything
This is non-negotiable. If you skip this step, the next five are largely wasted. The goal here isn’t just to remove makeup or sunscreen; it’s to dissolve the oil-based debris (sebum, SPF, pollution particles) that water alone cannot touch, followed by a water-based cleanse to remove sweat and residue. Think of it as stripping a wall: first the varnish, then the dust.
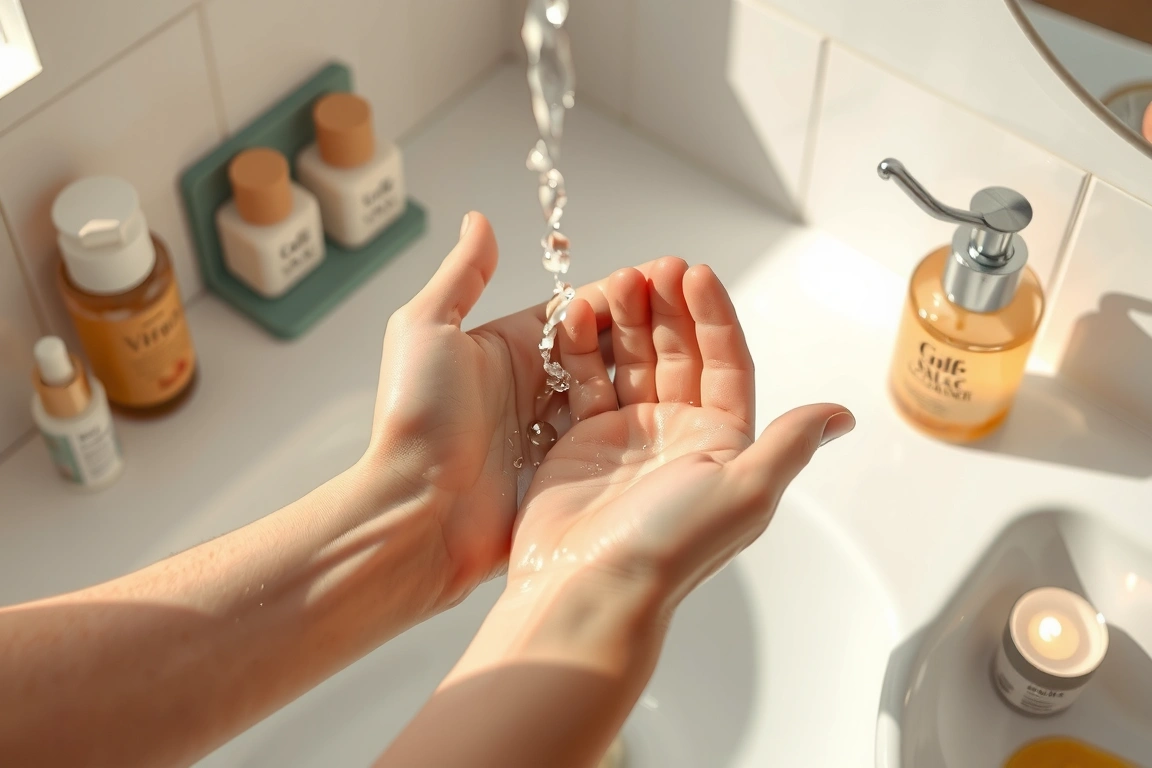
I use an oil cleanser first. My current go-to is the Banila Co Clean It Zero 3-in-1 Cleansing Balm (Original)—about $22 for 100ml. It melts into a silky oil and emulsifies beautifully. For a budget-friendly alternative, the Softymo Speedy Cleansing Oil (around $10) works just as well, though it’s a bit runnier. Massage this onto dry skin for a full 60 seconds. Don’t rush. Then, wet your hands and massage again for 30 seconds to emulsify. Rinse thoroughly. Follow immediately with a water-based cleanser—I use COsrX Low pH Good Morning Gel Cleanser ($12, 150ml) because it’s gentle but effective. Lather it in your hands first, then apply to damp skin for 30 seconds.
Can I skip this step?
Only if you wear zero sunscreen and zero makeup. Even then, your skin’s natural sebum builds up. On a tight budget, skip the oil cleanser only if you don’t wear SPF—but always use a micellar water (like Bioderma Sensibio H2O, $15) as a bare-minimum first step. Never skip the second cleanse.
Morning vs. Night
In the morning, skip the oil cleanse entirely. Your skin hasn’t accumulated oil-based debris overnight (unless you used a sleeping mask). Just splash with water or use a gentle water-based cleanser if you have oily skin. I only use the double cleanse at night.
Just splash with water or use a gentle water-based cleanser if you have oily skin.
Step 2: The Hydrating Toner — Layering the Base
After cleansing, your skin is thirsty. A hydrating toner isn’t about stripping; it’s about prepping. It lowers the pH of your skin after cleansing (which can be slightly alkaline) and delivers a first layer of humectants. The magic here is the 7-Skin Method, but I’ve adapted it to a realistic 3-4 layers for most people.
I use Pyunkang Yul Essence Toner ($18, 200ml). It’s a viscous, milky liquid with a short ingredient list—milk vetch root extract, which is a mild humectant. Pat one layer into damp skin. Wait 30 seconds. Pat a second layer. Wait. A third. You’ll feel your skin plump up. On a budget, the Hada Labo Gokujyun Premium Lotion ($14, 170ml) is a cult favorite—it contains multiple types of hyaluronic acid. Apply it to slightly damp skin, not bone-dry, or it can pull moisture out.
Budget Tier Table
| Tier | Product | Price (approx) | Why It Works |
|---|---|---|---|
| Essential | Hada Labo Gokujyun Premium Lotion | $14 | 5 types of HA, great texture, lasts 3 months |
| Better | Pyunkang Yul Essence Toner | $18 | Soothing, minimal ingredients, good for sensitive skin |
| Best | SK-II Facial Treatment Clear Lotion | $75 | Pitera™ fermentation filtrate, boosts cell turnover |
Can I skip this step?
You can skip the toner if you use a very hydrating essence or serum immediately after cleansing. But I find skipping it leaves a gap in hydration that’s hard to fill later. If you’re in a rush, just one layer is better than none.
Step 3: The Essence — The Heart of K-Beauty
An essence is lighter than a serum but more concentrated than a toner. It’s designed to deliver a specific active ingredient deep into the skin. For glass skin, I look for a fermentation-based essence. Fermented ingredients (like galactomyces or bifida ferment lysate) are smaller molecules that penetrate better and help with texture and brightness.
My non-negotiable is the Missha Time Revolution The First Treatment Essence 5x ($44, 150ml). It contains 95% fermented yeast extract, niacinamide (brightening), and adenosine (anti-aging). I pat 3-4 drops onto my face after the toner. It sinks in instantly. A budget-friendly alternative is the I’m From Mugwort Essence ($28, 150ml)—great for calming redness, but less brightening. For a luxury step, try Sulwhasoo First Care Activating Serum EX ($85, 60ml), which also preps skin for better absorption of subsequent products.
How to Patch Test and Introduce
Fermentation can cause purging in some people. Patch test on your inner arm for 3 days. Then, apply to a small area on your jawline for another 3 days. If no breakouts or irritation, introduce it slowly—use it every other night for a week, then daily. I saw a visible glow after about 10 days of consistent use.
Can I skip this step?
You can skip the essence if you use a targeted serum for your main concern (like vitamin C for brightening or retinol for texture). But the essence is the step that builds the “glow from within” look. On a tight budget, I’d prioritize a hydrating toner over an essence.
On a tight budget, I’d prioritize a hydrating toner over an essence.
Step 4: The Serum or Ampoule — Targeted Treatment
This is where you address your specific skin concern. For glass skin, the goal is even tone, minimal pores, and a bouncy texture. I rotate between two serums: niacinamide for pore refinement and vitamin C for brightness. Never mix vitamin C with niacinamide in the same routine (it can cause flushing for some).
In the morning, I use Melano CC Vitamin C Essence ($14, 20ml). It’s a lightweight oil-like serum that absorbs quickly. I apply 3-4 drops to my entire face, avoiding the eye area. It has a stable form of vitamin C (ascorbic acid + tocopheryl acetate) that doesn’t oxidize as fast as pure L-ascorbic acid. At night, I use Paula’s Choice 10% Niacinamide Booster ($44, 20ml) mixed with my moisturizer. A budget alternative is The Ordinary Niacinamide 10% + Zinc 1% ($6, 30ml)—it works, but can pill under makeup. For a luxury option, SkinCeuticals C E Ferulic ($166, 30ml) is the gold standard for vitamin C, but the price is steep.
Product Slots by Budget
- Essential: The Ordinary Niacinamide + Zinc ($6) + Melano CC ($14) = $20 total
- Better: Paula’s Choice Niacinamide Booster ($44) + Melano CC ($14) = $58 total
- Best: SkinCeuticals C E Ferulic ($166) + Sulwhasoo Concentrated Ginseng Renewing Serum ($140) = $306 total
Can I skip this step?
You can skip the serum if you’re on an extreme budget or have very sensitive skin that reacts to actives. In that case, focus on hydration (toner + essence + moisturizer). You’ll still see improvement, just slower.
Step 5: The Moisturizer — Locking It All In
After all that hydration, you need an occlusive layer to seal it in. Without this, the water from your toner and essence will evaporate, leaving your skin drier than before. The moisturizer should be chosen based on your skin type: gel for oily, cream for dry, lotion for combination.
I have combination skin, so I use Belif The True Cream Aqua Bomb ($38, 50ml). It’s a gel-cream that feels like a splash of water on the skin. It contains lady’s mantle extract and shea butter, but in a lightweight formula. For oily skin, COsrx Oil-Free Ultra-Moisturizing Lotion ($18, 100ml) is a great budget pick—it’s matte but hydrating. For dry skin, Kiehl’s Ultra Facial Cream ($35, 50ml) is a classic, though it’s not strictly K-beauty. A luxury option is Laneige Water Sleeping Mask ($35, 70ml), which I use as a final step at night for extra occlusion.
Morning vs. Night Differences
In the morning, use a lighter moisturizer that won’t interfere with sunscreen. I apply a pea-sized amount of the Belif Aqua Bomb. At night, I use a thicker layer or a sleeping mask. If you’re using a retinol serum, wait 20 minutes after applying it before applying moisturizer to prevent irritation.
Can I skip this step?
Absolutely not. This is the step that prevents trans-epidermal water loss. If you skip it, your skin will feel tight and dehydrated within an hour. Even the oiliest skin needs a lightweight moisturizer.
Step 6: Sunscreen — The Non-Negotiable Finale
This is the step that makes glass skin possible. Without daily SPF, all the brightening serums and hydrating layers are fighting a losing battle against UV damage, which causes hyperpigmentation, collagen breakdown, and dullness. Glass skin is healthy skin, and healthy skin is protected skin.
I use Beauty of Joseon Relief Sun: Rice + Probiotics SPF 50+ PA++++ ($18, 50ml). It’s a chemical sunscreen with a moisturizing texture that leaves zero white cast. It sinks in within 60 seconds and works beautifully under makeup. For oily skin, COsrx Aloe Soothing Sun Cream SPF 50 PA+++ ($16, 50ml) is a good budget option. For a luxury feel, Supergoop! Unseen Sunscreen SPF 40 ($38, 50ml) is invisible and works as a primer. Apply a generous amount—about 1/4 teaspoon for your face alone. Reapply every 2 hours if you’re outdoors.
Can I skip this step?
No. Not even on cloudy days. Not even if you’re indoors. UV rays penetrate windows and clouds. If you skip sunscreen, you might as well skip the entire routine, because you’re undoing all the good work. On a tight budget, a basic SPF 30+ from a drugstore brand (like Cetaphil) is better than nothing.
Small changes, real momentum
Get practical guides and templates you’ll actually use — a few thoughtful emails a month.
Sources & further reading
- Achieve (achieve.org)
Frequently Asked Questions
How long does it take to see glass skin results?
With consistent daily use of this 6-step routine, you’ll notice a visible difference in hydration and texture within 2 weeks. The full “glass skin” effect—that translucent, bouncy look—typically takes 4 to 6 weeks. This timeline assumes you’re using the right products for your skin type and not switching products every week. I saw the most dramatic change after 3 weeks when I added the fermentation essence and started using SPF religiously.
Can I use this routine if I have acne-prone skin?
Yes, but with modifications. Avoid heavy oils in the first cleanse—stick to a gel-based oil cleanser like the Kose Softymo Speedy Cleansing Oil. Skip the essence step if it contains fermented ingredients, which can trigger breakouts in some people. Instead, use a niacinamide serum (Step 4) to regulate oil. Use a gel moisturizer (Step 5) and a non-comedogenic sunscreen (Step 6). Patch test every new product for at least a week. I’ve had clients with cystic acne who achieved clear, glowing skin with this routine—it just required patience and careful product selection.
What’s the difference between an essence and a serum?
An essence is lighter, more watery, and designed to hydrate and prep the skin. It’s typically applied after toner and before serum. A serum is more concentrated with active ingredients (like vitamin C, retinol, or niacinamide) and targets a specific concern. In this routine, the essence (Step 3) builds a base of hydration and glow, while the serum (Step 4) addresses uneven tone or texture. If you had to choose one, choose the serum for your main concern. But for glass skin, both work synergistically.